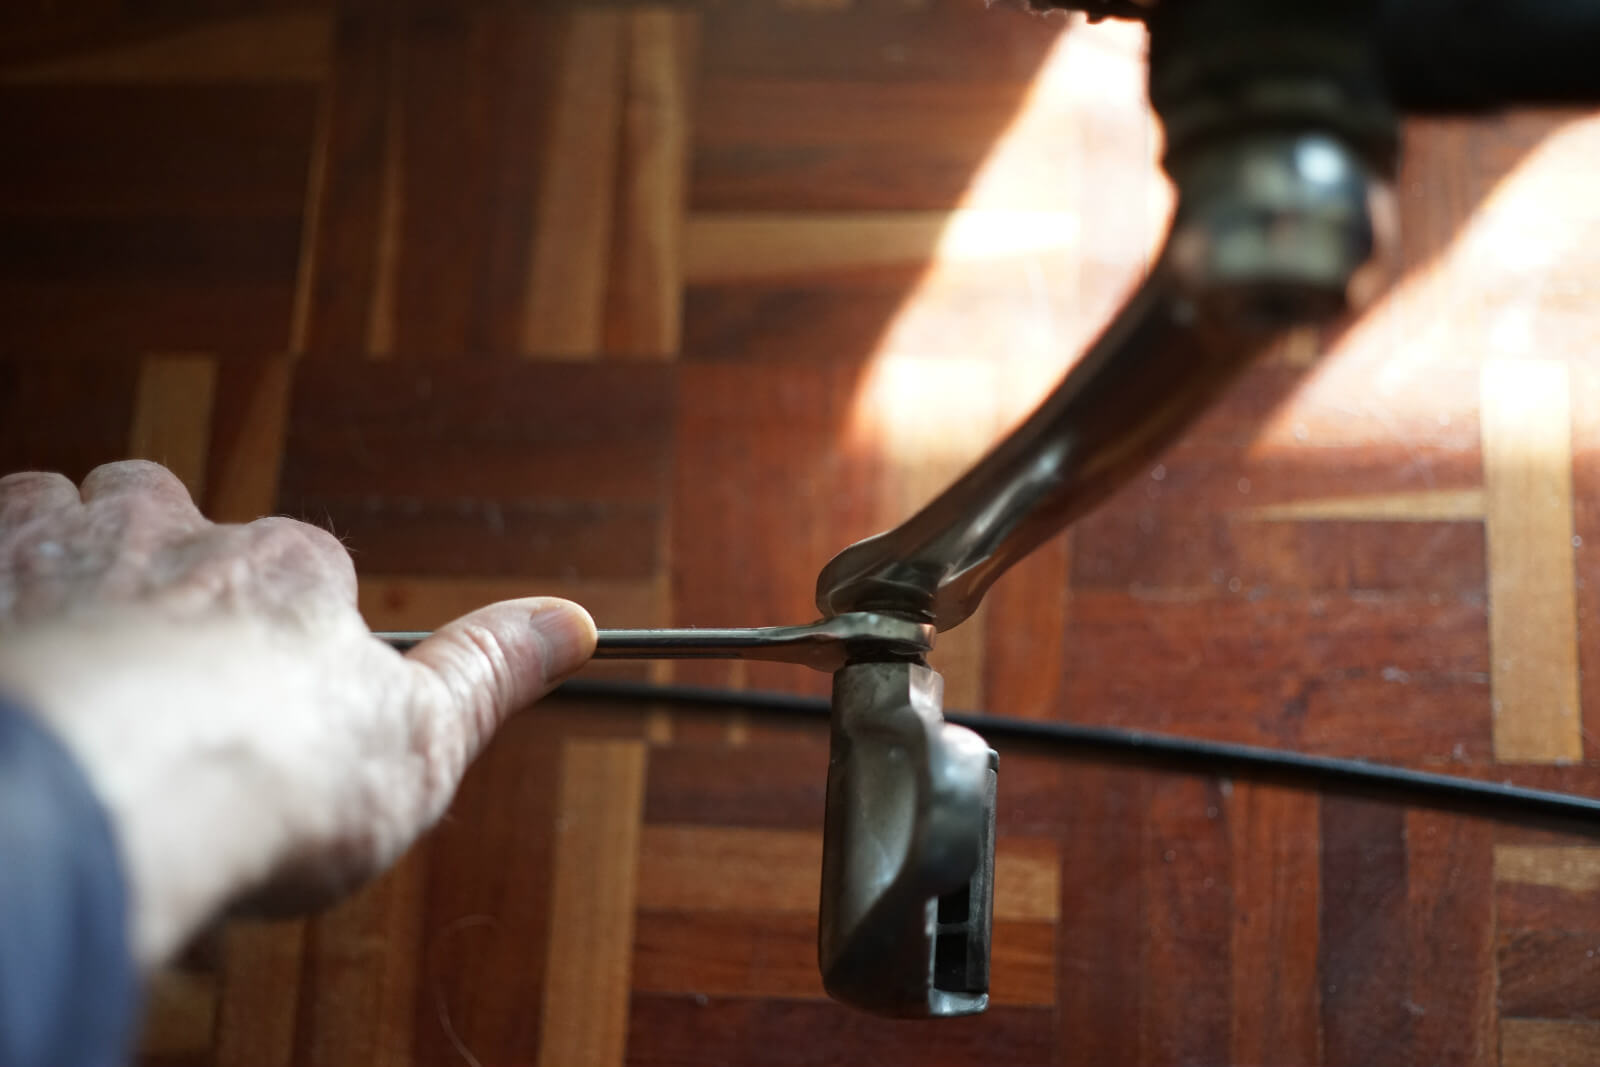
1) Don't rush your work on the bike, with bare hands. Hurry can lead to hurt. When you apply pressure to a part you're trying to tighten up or loosen, that part could give way suddenly, causing your hand to hit metal. It's much safer to wear work gloves or even cycling mitts. Study the parts and think carefully about the task before you start. Plan your action. That way, you'll be less likely to draw your own blood or bruise yourself when something gives way. Pull rather than push. Don't put your full body weight behind something which could come loose without warning. Here's a tip: before you start applying pressure to a crank arm bolt, put the chain on the big ring. It will cover those sharp chainring teeth if your hand does slip. When using tire levers on a clincher tire, don't work at eye level. Apply force with the heel of your hand. That way, if anything slips, the lever will be stopped by your hand – and not catapulted at your face.

2) Don't ignore wear on rims. if your bike has rim brakes, inspect your rims regularly for wear. It's easy, once you find the faint groove or shallow dimples in the rim. Repeated and heavy braking will rub out these marks, which are a safety measure put there by the manufacturer. If you can't find dimples or grooves, that means some alloy has been skimmed off the rim, which is no longer as strong as it was when new. If the braking surface is concave, that's even worse, and most likely shows that the rim wall is less than 1mm thick. Get those rims replaced! If a weak front wheel gives way at speed, there will be serious consequences for the rider.
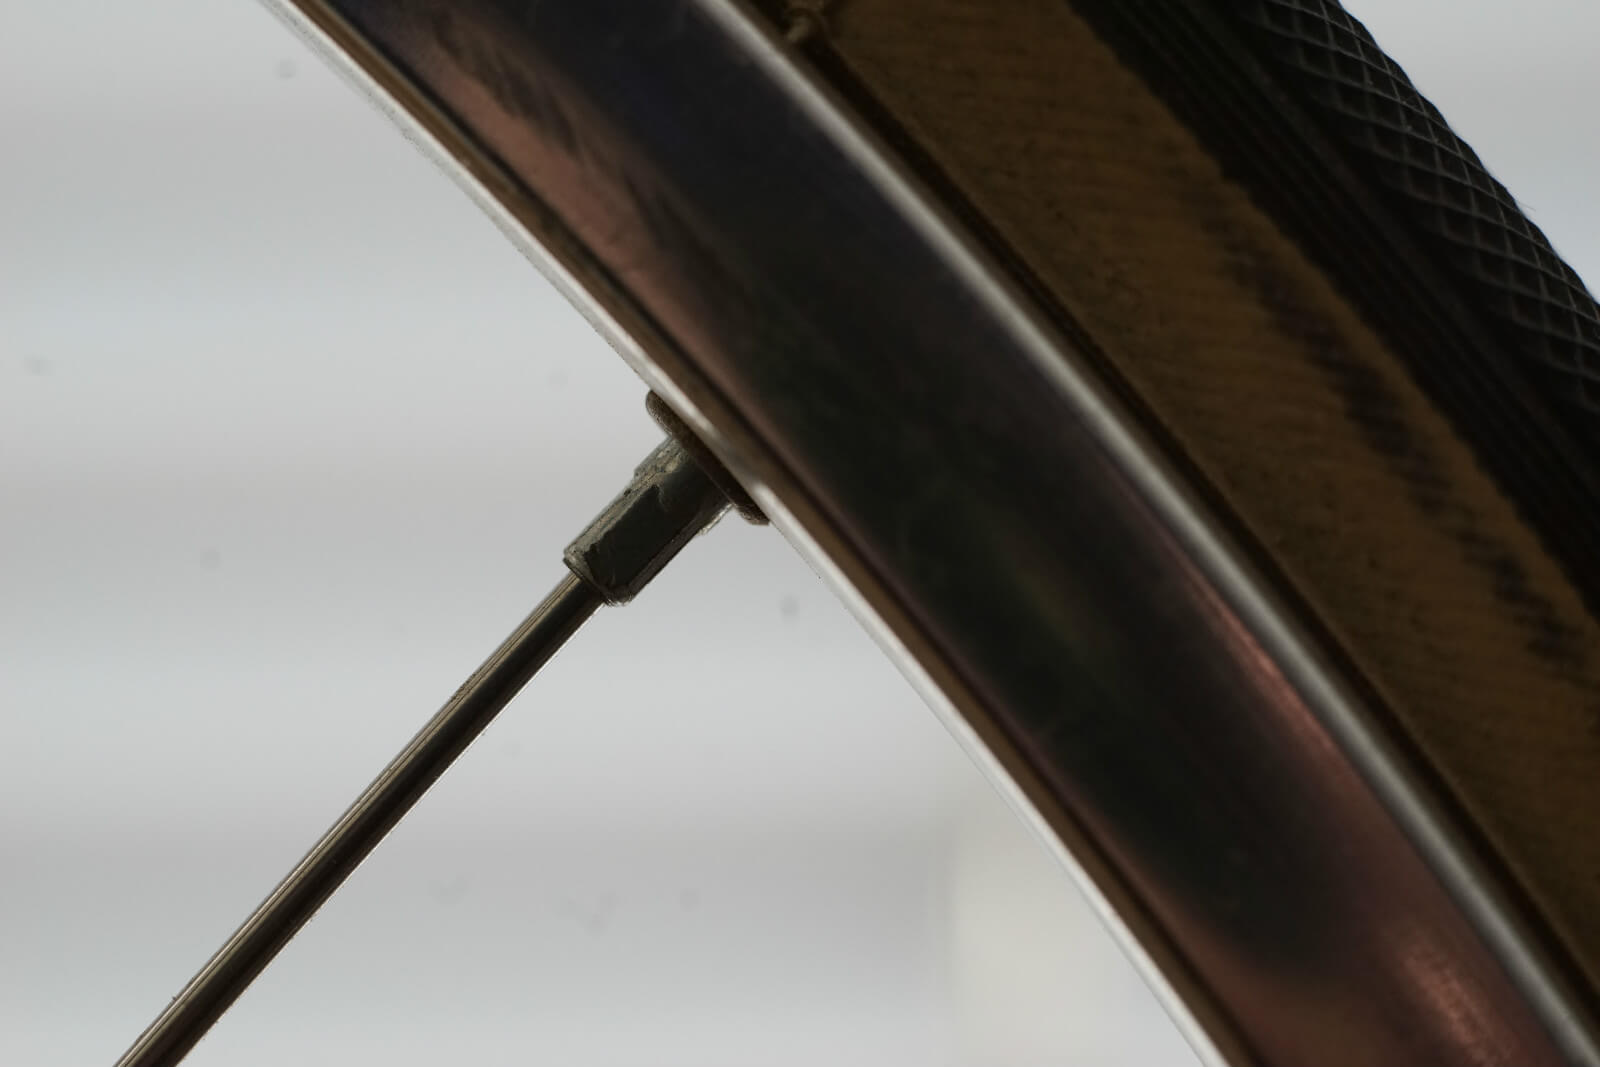
3) Don't just tighten spokes to true a wheel. A bike wheel is a tensegrity structure – strong because it's stretched. And the tensions are balanced between left and right – with the proviso that in a dished rear wheel, the right side spokes take half the tension put into the left side spokes. If you must tighten one side to cure a wobble, maintain a balance of tensions by loosening the other. Wheel building and truing is not an art for amateurs, and if you end up with crushed spoke nipples – get professional help.

4) Don't ride with your front wheel loose. Now for one of the most dangerous don'ts in cycling. The front wheel on many bikes is incorrectly and dangerously fitted. Some people simply screw the quick release lever round and round until the hub meets the drop-outs. This works only with the DT system. All other quick release systems must be adjusted. Turn the nut so that when the hub is in the drop-outs, the lever will travel all the way and snap into place, locking the wheel securely. Since the front wheel is removed more often than the rear, there's a real danger that the quick release can slip out of alignment. And some cyclists have been known to ride with loose front wheels, which is begging for disaster. So don't forget to check your quick release or thru-axle before you ride.
5) Don't ignore tire pressure. Before we move from the wheels to the frame, we need to consider the care and maintenance of tires. Pump them up too hard, and they feel uncomfortable; too soft, and the bike is sluggish. Either way, they wear out faster. You need to take special care with latex inner tubes, which can leak up to 20 psi overnight. Learn to judge road bike pressure by “pinging” the tire with a fingernail. Find what the recommended pressure for your body weight and type of riding is. Put that in with an upright pump and pressure gauge, and note the pitch of the “ping”. That will guide you – after a puncture out on the road
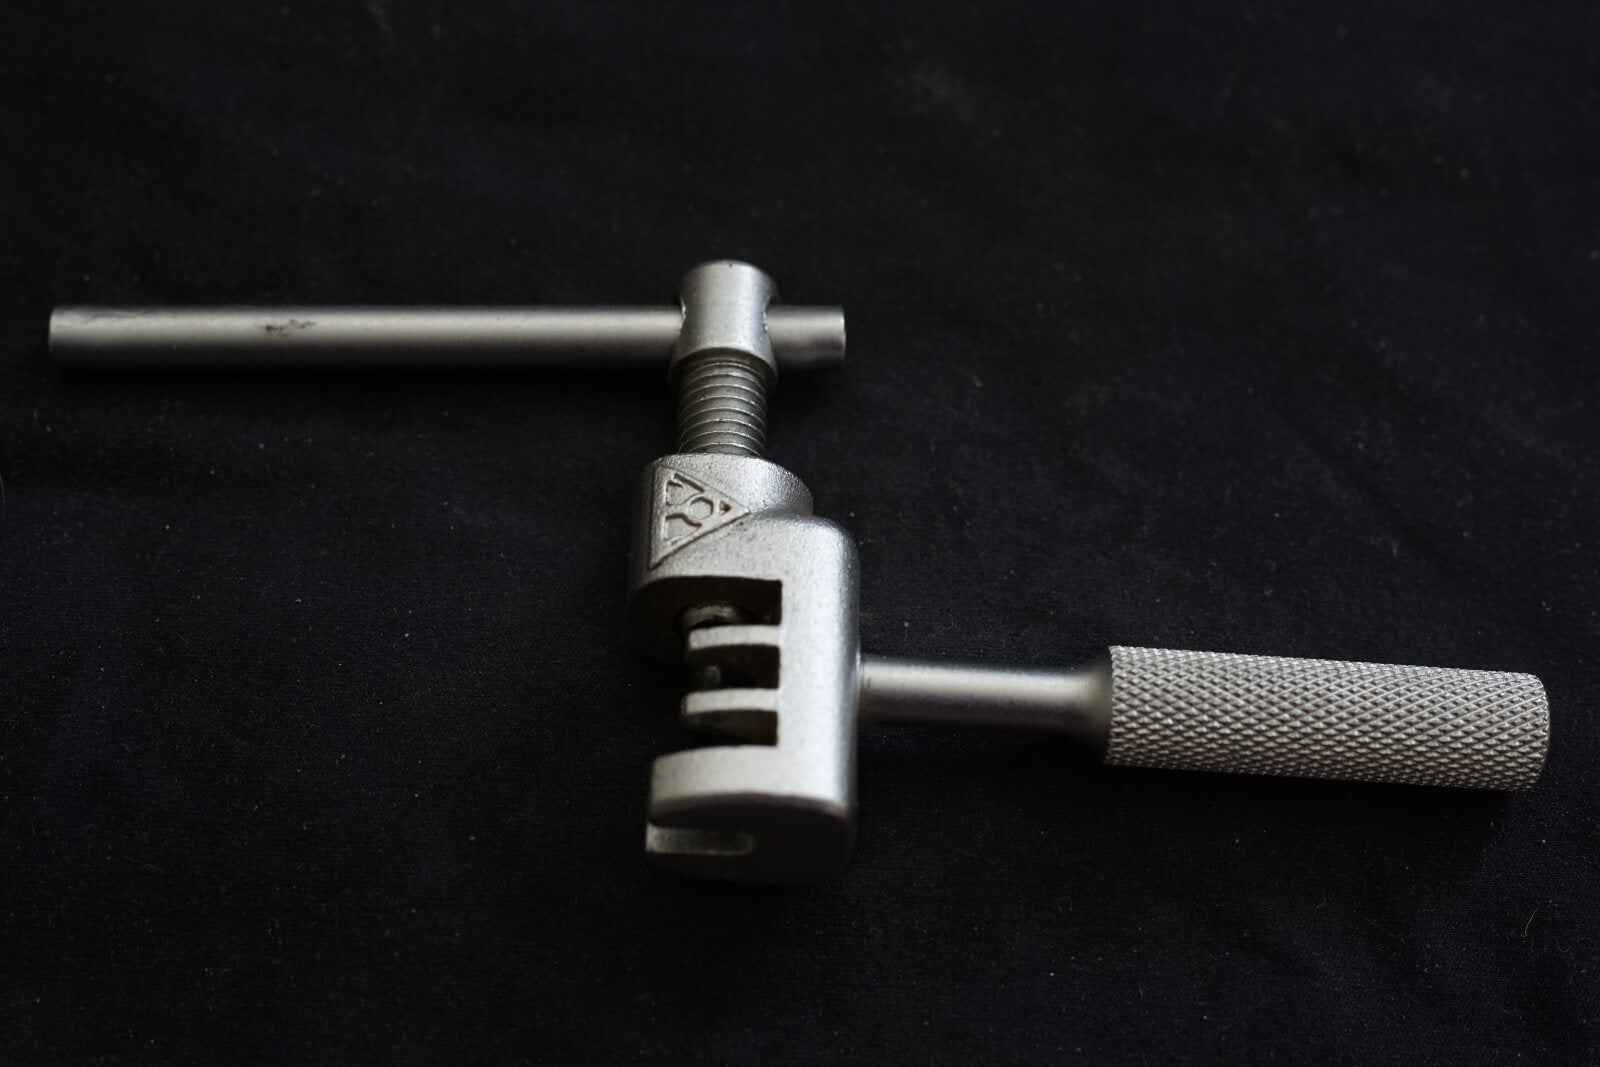
6) Don't ride with an unsafe chain. The ordinary rivet tool is a boon to the cyclist, and a lethal weapon in the hands of an amateur or hurried bike mechanic. You need a good eye and a close-up view to ascertain that a rivet has gone right through, and is showing on both sides of the link. If it has not, to be absolutely certain, get a special link which doesn't need a rivet tool. Don't forget to check your chain length regularly. There are simple tools to measure chain stretch – and a stretched chain can chew up expensive chain rings and sprockets. Clean regularly and don't over-lubricate. Get a new chain after 1500 miles. Pro roadmen change chains much more frequently.
7) Don't tighten pedals too much, or install without grease. Always use a lubricant, because dry-fitted pedals will stick. Excessive force will be needed to get them off. The same problem gets worse, if you're screwing steel or titanium into alloy. Left and right pedals have opposing threads; this is to prevent them coming unscrewed as the cranks rotate. The design means that the pedals naturally tend to get tighter in use. So, be gentle – if you have a suitable torque wrench, 30 Nm should do the trick with greased pedals. But if you've overtightened pedals, dry or not, you could end up with an expensive problem only a pro bike mechanic can solve. And you'll need new pedals if the old threads have corroded.

8) Don't forget the seat post grease. Here we have the same problem as pedals, with the meeting of two metals. There is nothing so hard to remove as a seized seat post. Remove, wipe clean and re-grease every six months or so. Don't do this, and your seatpost will be there forever. Carbon posts stick in carbon frames too, so follow the same advice, using an assembly paste formula.

9) Don't be careless with the headset. This requires some study of the mechanism. When a loose headset needs to be adjusted, some amateur mechanics torque up the top cap. But they don't loosen the stem bolts first, and the result is damage to the cap, as well as the star washer or expander plug inside the steering column. The expander might even pull right out. To get it right, reinsert the expander so that the stem is about 5mm above the end of the steering column. Put on the cap, then gently turn the adjuster bolt until the fork turns freely without binding. Then tighten up again – gently.
10) Don't use brute force. The modern bike is built for a good strength-to-weight ratio, which means super light carbon, titanium and dural components. As we advised with the headset, dealing with these fragile parts requires a gentle touch. Grease bolts and washers; use tools and allen keys with short handles. If you can afford a torque wrench, you'll discover that most seatpost, headset and stem settings are between 10 and 5 Nm. A heavy-handed mechanic can easily destroy such parts.
Useful Tools.
In your quest to avoid the don'ts, you'll need these items.
- Grease
- 3,4,5mm Allen keys
- Rivet tool (or link) for chain
- Chain measuring tool
- Pump with pressure gauge
- Pedal spanner
- Torque wrench
