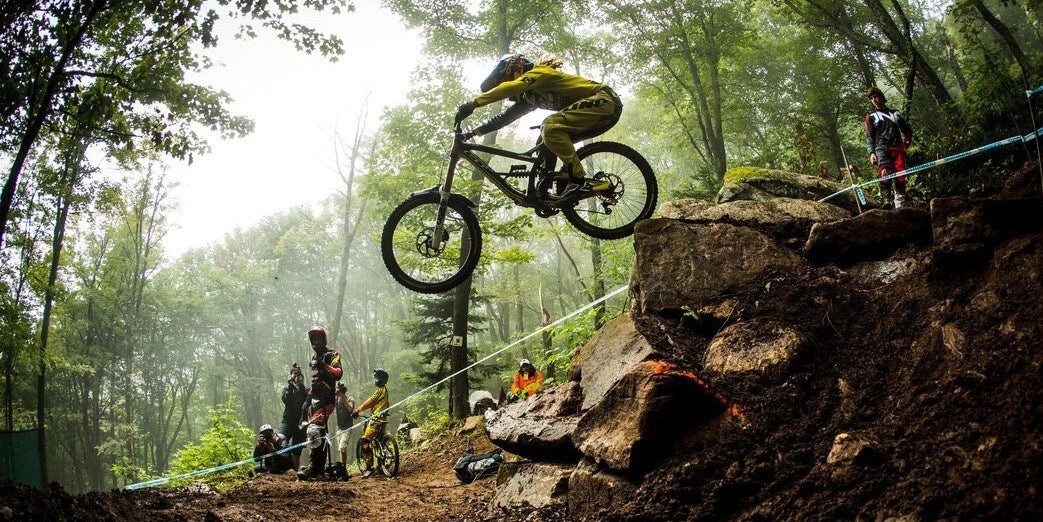
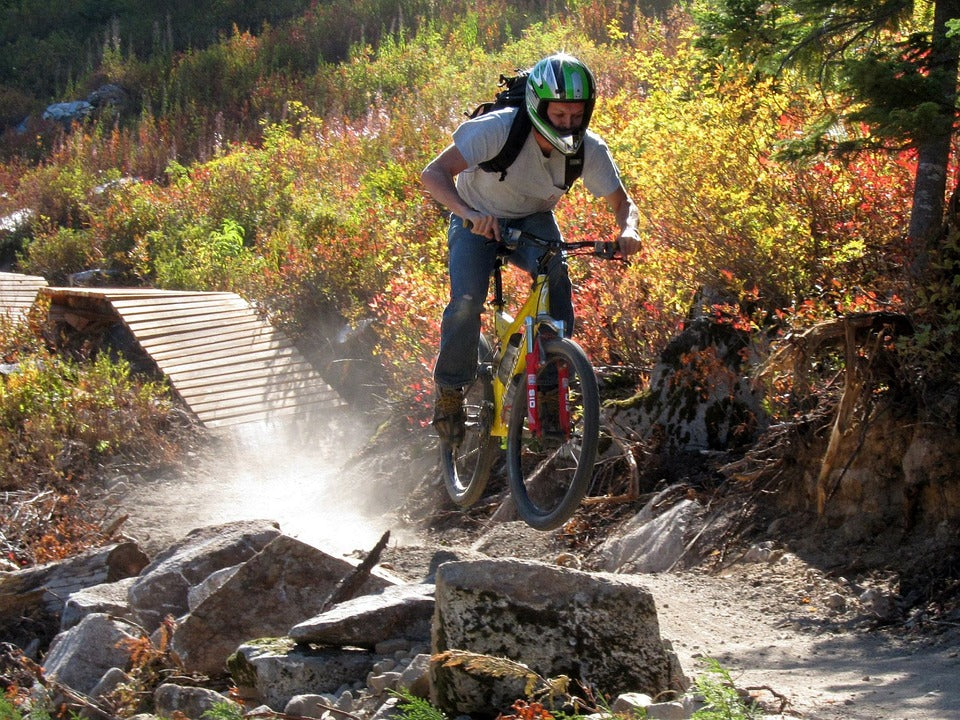
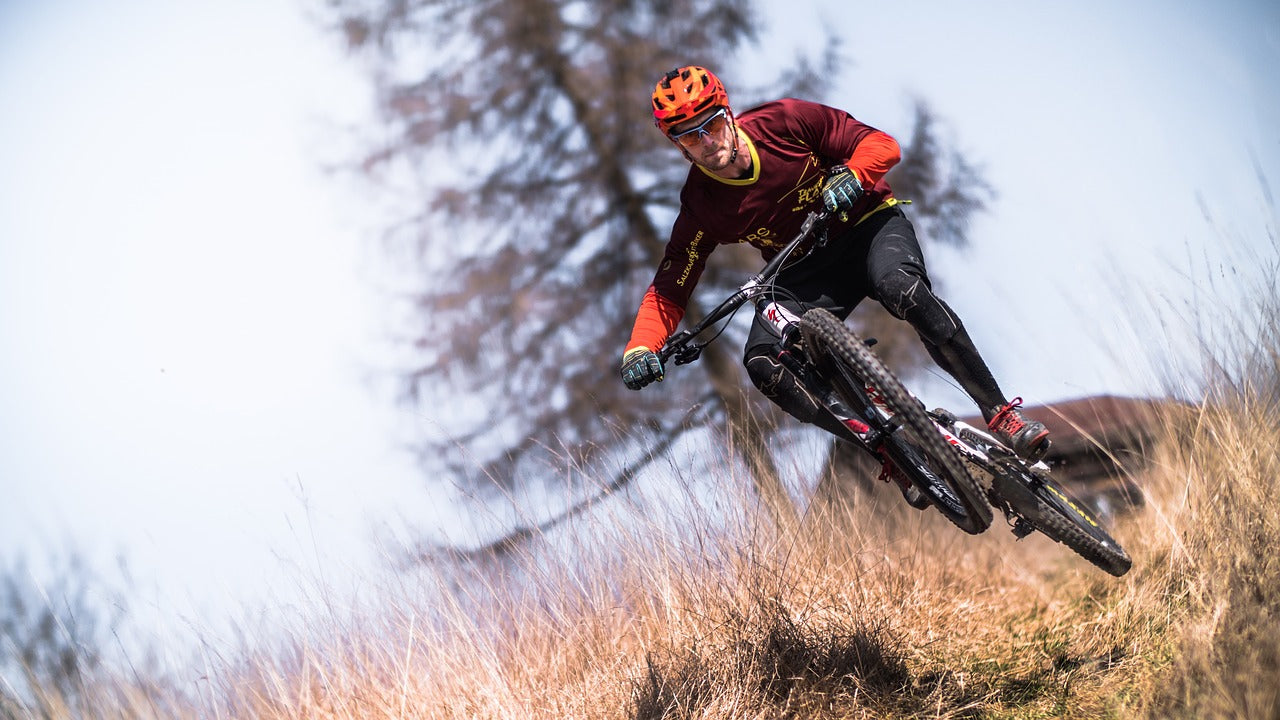
If you've been yearning for excitement that gets the heart pumping and adrenaline flooding your veins, try hurling yourself down a steep freeride course. It should test your bike handling skills to the limit, and teach you a few valuable lessons.
But it's an exploit which must be carefully planned in advance. In less hectic riding, a mechanical fault or a steering mistake is no great problem, even on a technical course – you can always put one foot down.
But when you're dodging trees, pushing the envelope and close to the edge, the famous Murphy's Law applies: Prepare on the assumption that the worst will happen. You and your bike must obey Murphy – and here's how to do it.
Let's assume that you have a standard mountain bike, and an urge to tackle a freeride course for the first time. To keep yourself out of the emergency room, there are certain upgrades you can apply to your bike, and we're going to outline them for you.

WEIGHT
This is not the weight-saving exercise so many other competitive cyclists go through. If our suggested freeride modifications add weight to your bike, don't worry – because gravity is on your side. Custom freeride machines can weigh up to nearly 40 lbs, and they're never going to be first to the top of a hill. Light weight is no advantage when the whole idea is to descend as fast as a bat out of Hell.
SUSPENSION
The main freeride consideration is not so much the bike's frame; you can make do with what you have. But the performance of your front and rear shocks is vital. So take your time and set up these items up with great care. Climb on the bike with your kit, shoes and helmet on.
Then get the sag set to +- 22% in front and +- 30% at the back. Stiffer is better on a really rough course. Suspension travel could be anything from five to seven inches, and you might need a stronger spring, to stop the wheels bottoming out completely as you jump over humps.

WHEELS
This is where the rubber meets the rock, and you'd better be ready for the worst. That means a 36 spoke lacing pattern front and rear, plus the fattest tyre that fits your frame, perhaps 2.3 inches with a serious off-road tread pattern. Don't pump the tyres too hard; about 30 psi should be enough to give grip for the heaviest rider. Modern tubeless tyres with interior sealant are a good idea.
BRAKES
Even a downhill demon needs to reduce speed at certain dangerous moments. And knowing that you have braking power gives you the confidence to charge on. Hydraulic disc brakes are the obvious choice, with big rotors for added heat dispersion – seven or eight inches in diameter. Get new brake pads, or give the old ones a good rub with sandpaper to freshen up their bite.

TRANSMISSION
It's okay if the bike you're converting for downhill adventures has a triple or double chainring. A bashguard is a useful accessory to protect chainrings from hard contact with rocks. And you're going to need the chain guide. On tough downhill courses, pro freeride machines are fitted with chain guides – even though they have only one chainring. That's because the chain's going to lash about like mad, and can easily come unshipped from the ring. Shake, rattle and roll – the chain will do all that and more!
And in the process, give your right chainstay a good thrashing. Improvise a stay protector from an old inner tube and some duct tape to keep that stay unscarred. You might do the same for your down tube, which is the part most likely to scrape rocks.
You'd be amazed how easily a bush or a boulder can damage your exposed gear cables, and leave you to walk home uphill. Obey Murphy's Law and equip your downhill racer with enclosed, full-length gear cables. If the frame doesn't have eyelets, use cable ties to keep your crash-proof modification in place. When it comes to pedals, propelling you downhill through mud, wider is better, and clipless is not so great in a hectic situation where every microsecond counts.

THE COCKPIT
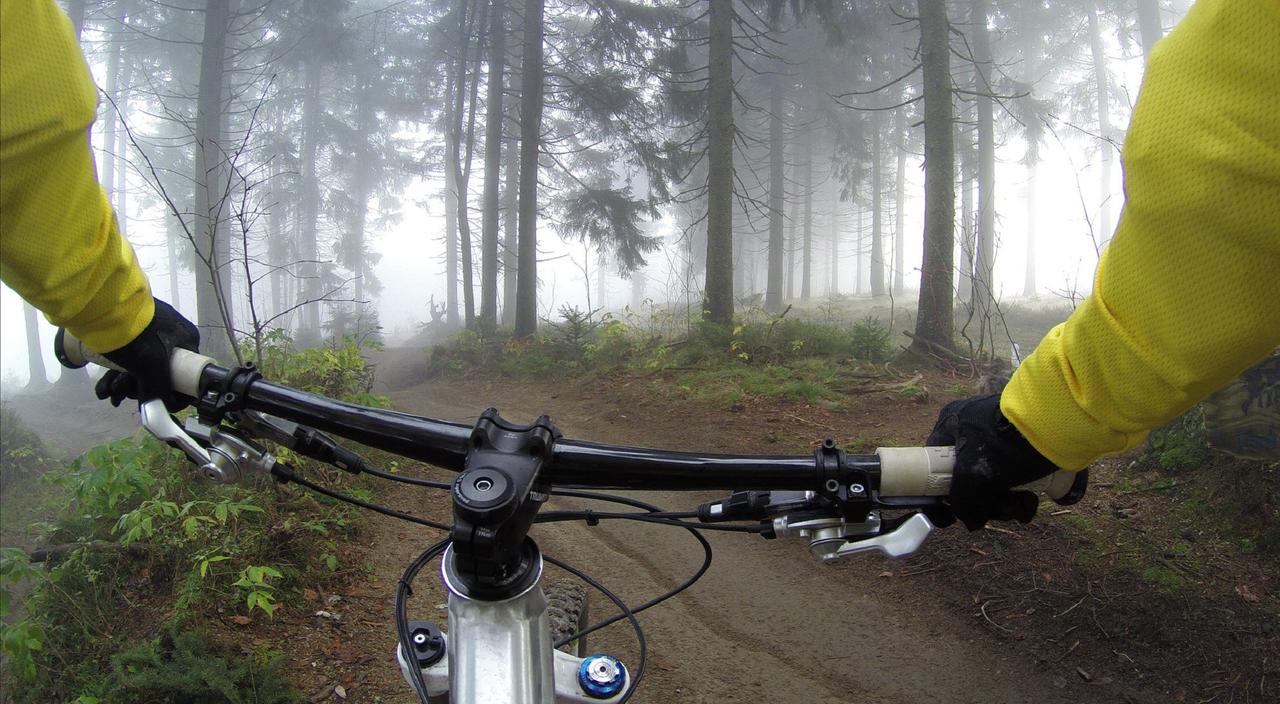
Here's a tip from a gonzo downhill pro: don't tighten up your brake levers to the max. They might get broken off in a crash, but if they have some yield in the clip, the levers might just move with the knock. And it might be a wise idea to locate them for the easiest grip when most of your weight is on the back wheel – flat out with arms stretched like Superman in flight and your backside behind the saddle.
Extreme descending demands a shorter stem – and not just for the stretched out rearward position. Using a 5cm stem when you normally ride with a longer one gives better handling – you can pop a wheelie or bunny hop over small obstacles with ease. For fine control, fit wider bars, up to 750mm, which will still allow you to zig-zag through a forest course. One clever addition to the cockpit would be an adjustable seat post. Hoist it when the path turns upward – drop it when you're hurtling down into the valley, dodging tree trunks.
AFTER THE EVENT.
There's an old cyclist's saying: It's not a matter of if . . . but WHEN you fall. This applies to freeride trails – in spades! So the gonzo rider must keep an eye on his bike before and after the downhill event. That scrape on the chainring – is it actually a crack? The tell-take creaking noise where bars meet stem – Is that a warning of fatigue? Are the fork and shock seals good to go one more time? These precautions are mandatory, because every time you take a ride on the wild side, the bike takes a hammering that shortens its life a little. But when you do fall off the bike in rough territory, you could be okay – if you've obeyed Murphy's Law.
