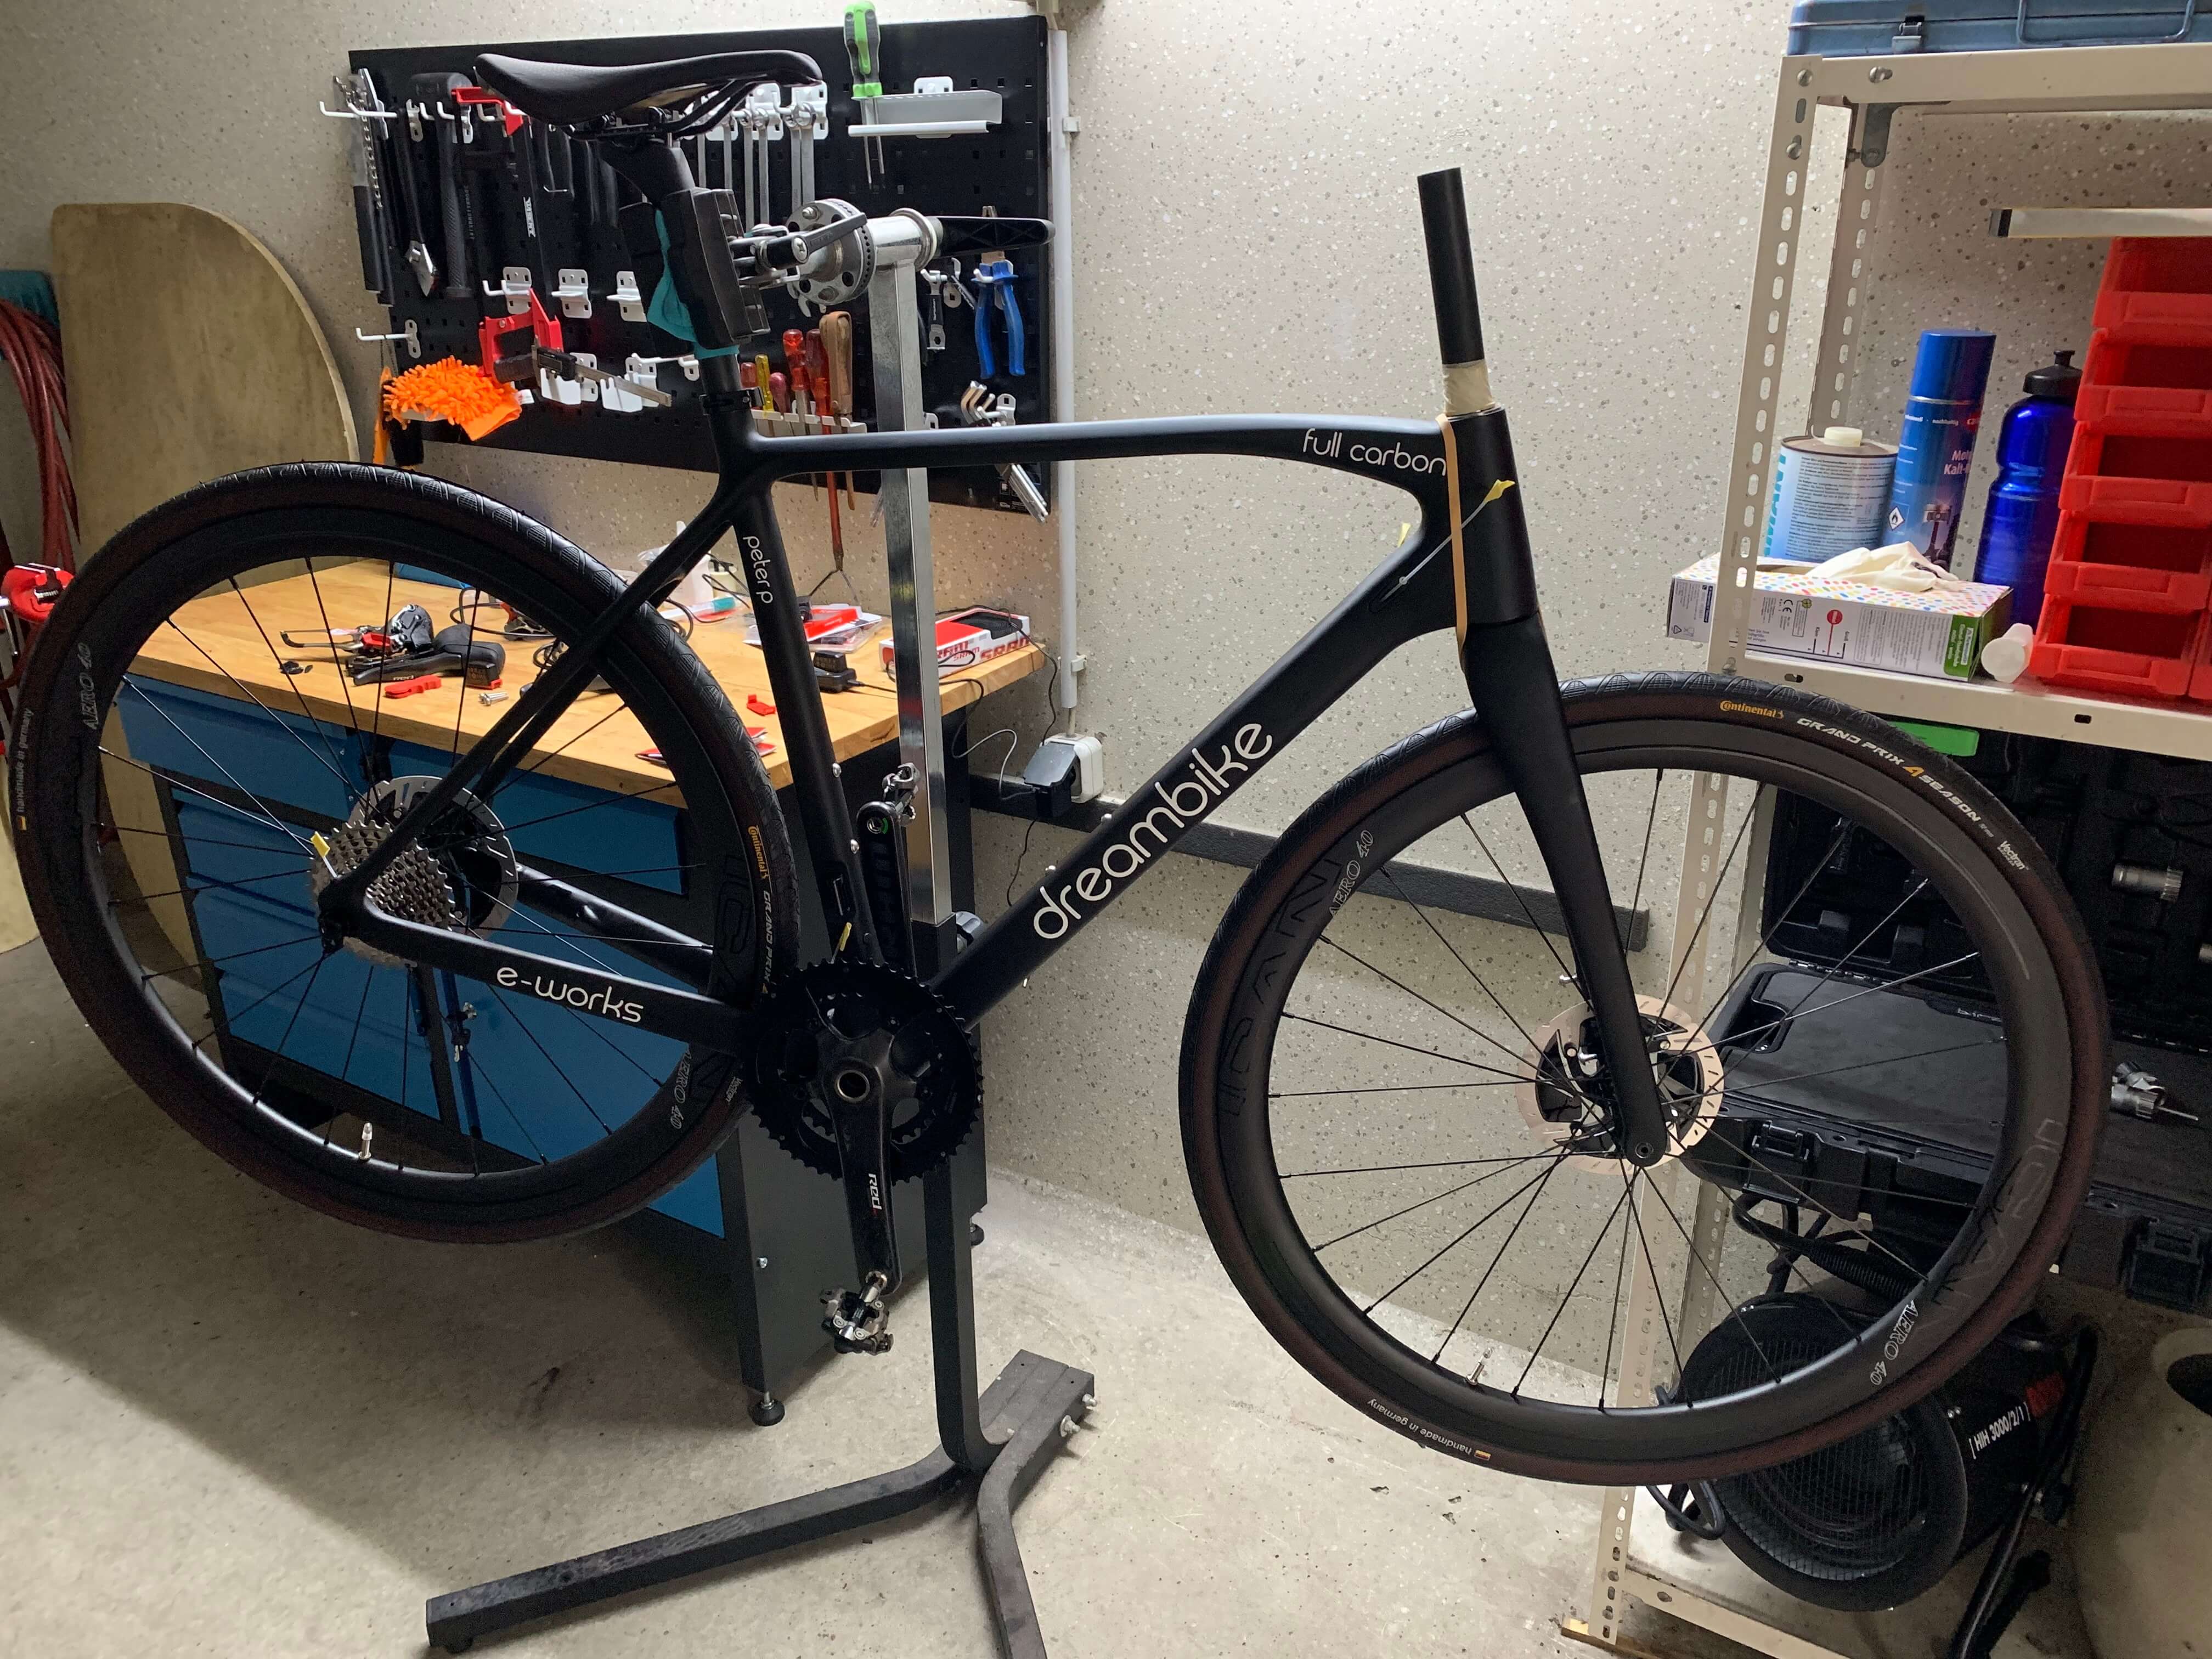
When working on your own bike, it is easy to get caught up and make mistakes. It is always best to give yourself enough time to make sure that you aren’t going to make a mistake or develop bad habits. Taking your time is the best way to treat every job; don’t leave workshop time until the very last minute.
1. Overtighten bolts
Bolts and threads are fragile, they might not seem it, but they are. You especially want to be careful if you’re using anodized alloy bolts or titanium. Too much torque and you’re going to be drilling the remains of a sheared bolt out. You may also end up putting too much stress on that lovely new carbon fiber bar, that is one place you really don’t want to overtighten.
One way to save yourself the worry from overtightening is to buy yourself a torque wrench. It might seem expensive to buy a torque wrench, but it’ll be a lot less than the hospital bills you can get from overtightening.
Before using your torque wrench on bolts, make sure you have greased their threads. It’ll save you a lot of hassle from trying to get seized bolts out, and if you do accidentally overtighten the little bit of grease might save you from stripping threads.
2. Don’t grease your seat post
It has happened countless times before, and it’ll happen countless times in the future. When you fit a metal seat post into a metal seat tub, you’ll need to grease it. If you fit a carbon one to a carbon or metal frame, you’ll want to add fiber grip.
Not greasing a seat post can lead to a very expensive bill to get it removed when it becomes seized. You’ll also find a bike with a seized post nearly impossible to sell. You also need to remember and periodically renew the grease.
Grease can dry out, and that will allow oxidization to occur. Once your seat post and seat tube start to oxidize together, you’ll get problems.
Fiber grip will stop carbon bonding together, and it can happen. It also stops your seat post from slowly sinking into the frame when you sit on it. It will then mean you don’t need to overtighten your seat clamp to get the seat post to stay and we already know that is an issue.
3. Forget that pedals are sided

Pedals come with both a left hand and a right-hand thread. You’ll find that most pedals will have an “R” or an “L” on them somewhere to let you know which side they go on. When putting pedals on start by using your fingers.
You don’t need them much more than finger tight. Once you have them on and you’re sure they are on the correct side, then use a pedal wrench to tighten them to your manufacturer’s guidelines. You should not need to force them on.
A pro tip is when you have the wrench on if the bike is in a work stand, pedal the bike backward to tighten your pedals quickly and easily. Remember and just do them snug. The motion of you pedaling will further tighten the pedals.
You should also have greased those threads, possibly more heavily than you think you need to and don’t forget a pedal washer if your cranks need them.
4. Keep tightening your headset
You want to set your headset up properly. Many people just keep tightening the tension bolt until they end up ovalizing their headtube. It is pretty easy to set up your headset correctly, and it only takes a few minutes.
One of the most important things you can do for your headset is to keep it full of grease. Headsets die when they have no grease, and most bike shops will have seen a lot of preventable headset deaths. If you don’t know how much grease to use, use more when you tighten your headset the excess will be squeezed out, and you can wipe it away with a rag.
Never tighten, or loosen, a headset before you have loosened the side bolts in the stem. Not doing this will not do much more than risk breaking parts of your bike. Slowly tighten your headset and periodically check for play as you go. There should be no play, but everything should move freely. Lift your front wheel up and lightly move the bars; how does the headset feel? If it feels sticky, you have overtightened your headset. Back it up a notch.
5. Never pump your tires up

Your tire pressure will go down. It is a very natural thing to happen. High-pressure road bike tires will lose pressure faster than mountain bike tires. If your road bike gets comfier over a few rides, it is probable that your tires need to be pumped up, so do it as soon as you can.
Get into the habit of checking your tires before every Saturday morning ride. While you’re there, check your tires for any debris stuck in them. It is better to get them out early before they give you a puncture. You’ll also want to check for cuts and gouges.
Then once you’ve done that, make sure your wheels are properly secured to your bike. You don’t want your quick release levers to work loose. Loosing your front wheel is not something you want to happen when out on a ride.
6. Ignore wear indicators on your wheel rims
This may be an issue that is on its way out as we all turn towards disc braked bikes. If you’re still using rim brakes though it is a very important rule to live by. Wheel rims only have a finite life, and if you live somewhere wet and muddy, then that life will be much shorter.
Letting your rims wear down too much can cause them to blowout when you’re riding. You might manage to control a back wheel blowout, but a front wheel blowout is not fun. You also run the risk that when you pump your tires up, you cause the rim to explode. It can happen, and I’ve seen it happen, and it is a scary thing.
Protect yourself and check your wear indicators.
